
Building & details · 4 questions
Sauna Kit Build Lessons From Our Actual Assembly Videos
Some details only become obvious when the crate is open. These answers connect our recorded builds to the finished saunas, with the version of the kit kept clear.
01 / Building & details
How did you organize the panels before assembling the Libera Glass?
In the recorded Libera build, the panels are unloaded into an accessible area so each can be identified before assembly. Trim is bundled separately, and the accessories, hardware and lighting are checked as their boxes are opened. That keeps the labeled wall pieces visible instead of burying the next part under the rest of the kit.
Watch: Auroom Libera Indoor Sauna Build Video ↗
Evidence: Auroom Libera Glass original 360 photographs · Auroom Libera Indoor Sauna Build Video
Link to this answer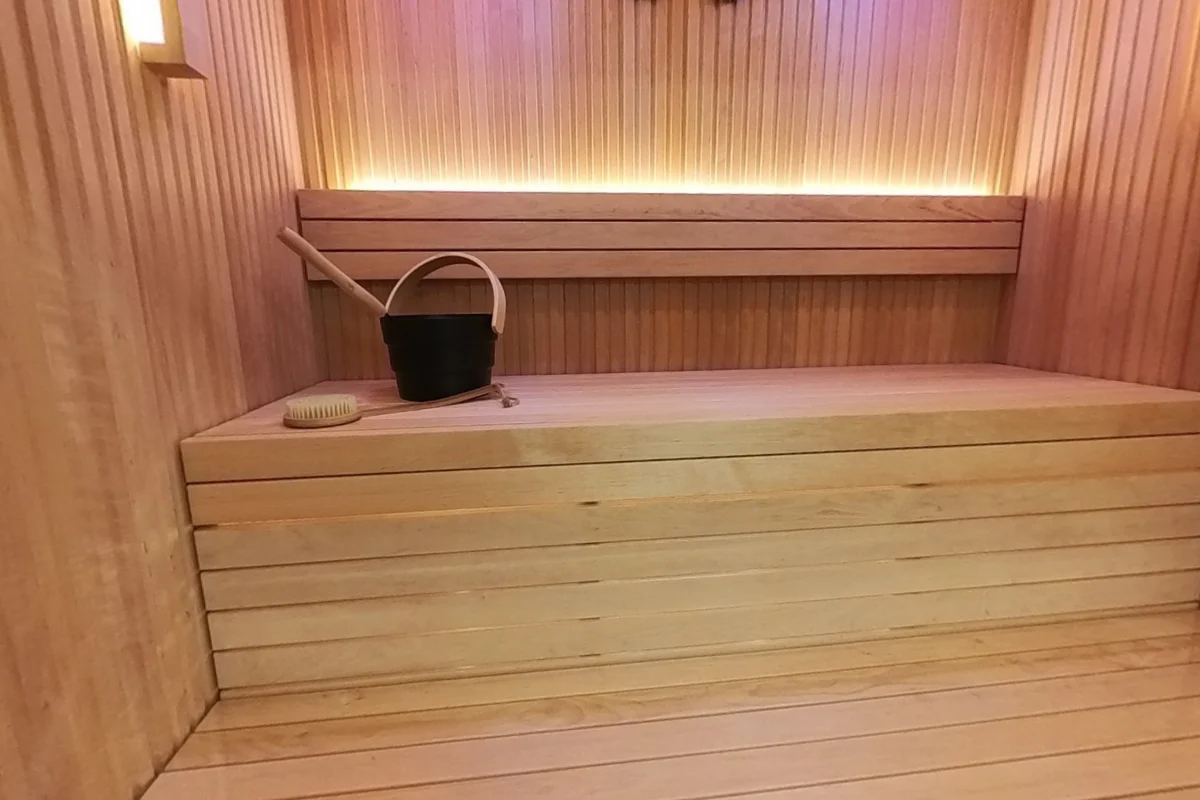 Open this view in 360° ↗
02 / Building & details
What helps identify where the wall panels go in the Libera build?
The recorded Libera kit has matching labels on the aluminum base frame and wall panels. The build follows those labels to place each panel. It is a useful look at how that particular kit goes together, while the manual supplied with your own size and revision remains the reference for its exact panel order.
Watch: Auroom Libera Indoor Sauna Build Video ↗
Evidence: Auroom Libera Glass original 360 photographs · Auroom Libera Indoor Sauna Build Video
Link to this answerOpen this view in 360° ↗03 / Building & details
Which part finishes the front of the Libera Glass build?
The front trim is the last step shown in our Libera Glass build, after the wall, ceiling and glass components are in place. The video shows the trim locating on its preinstalled cleats. The finished interior and glass-front views help you see which edges those final pieces cover.
Watch: Auroom Libera Indoor Sauna Build Video ↗
Evidence: Auroom Libera Glass original 360 photographs · Auroom Libera Indoor Sauna Build Video
Link to this answer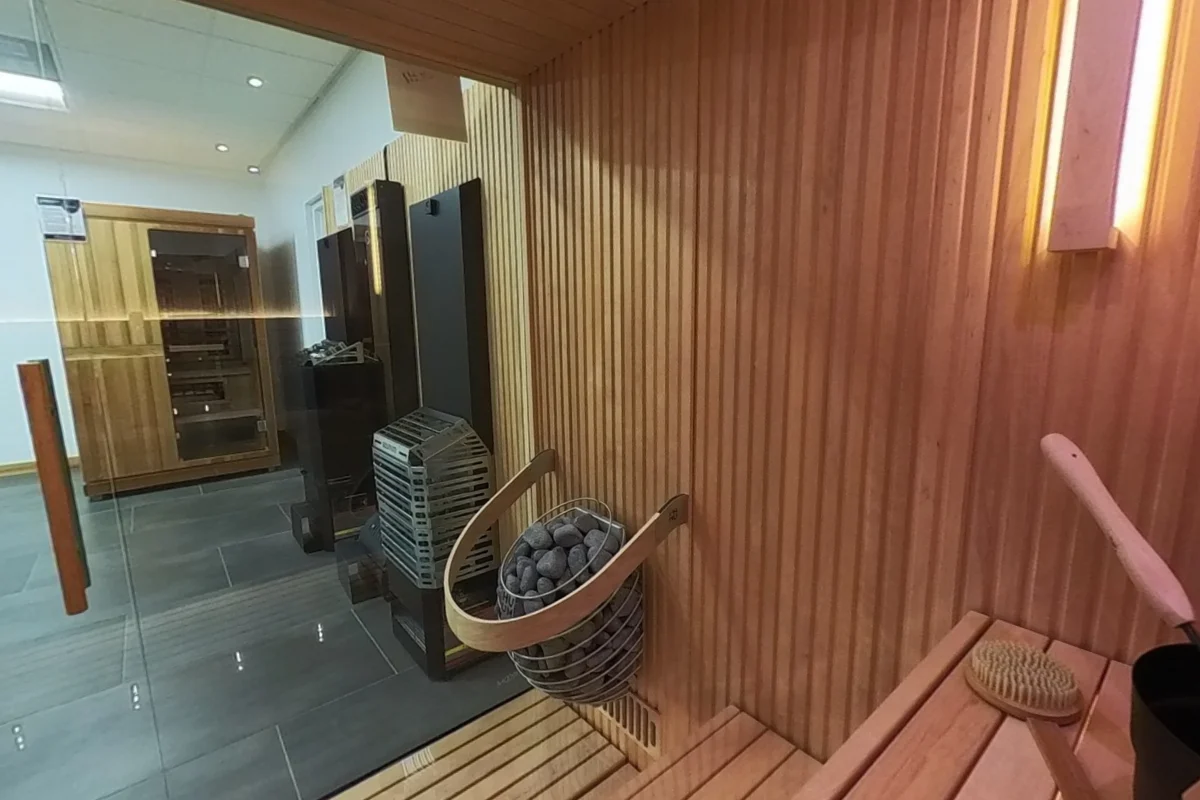 Open this view in 360° ↗
04 / Building & details
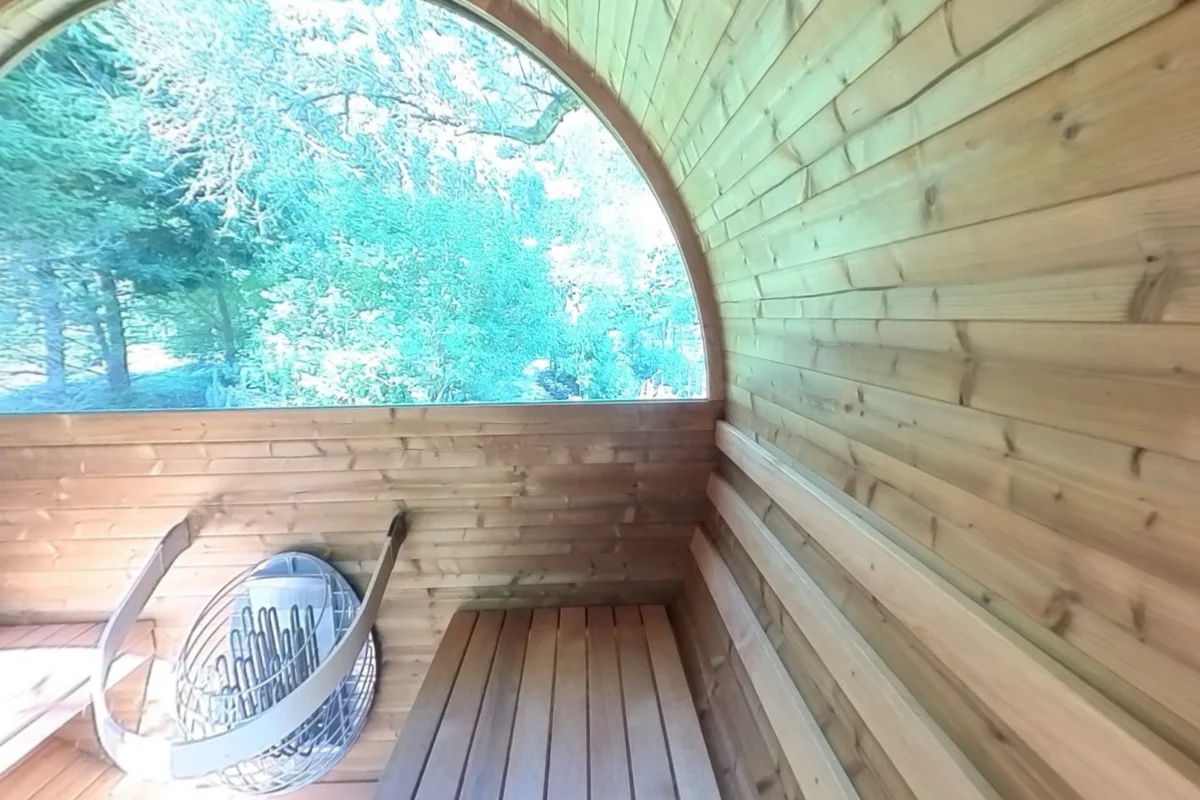
How is your Thermory Barrel build series divided?
Part one covers the crate, base and first stave. Part two follows the shell and rear-window assembly. Part three shows the roof cover, trim, benches and finishing work. The finished Barrel 60 photographs let you look closely at the result while the videos show how the recorded installation reached it.
The build records this specific Barrel 60 installation. Use the current instructions supplied with your kit for fasteners, dimensions and installation requirements; revisions and other barrel models can differ.
Watch: Thermory Barrel Sauna Build Pt. 1 ↗
Evidence: Thermory Barrel 60 Series original 360 photographs · Thermory Barrel Sauna Build Pt. 1 · Thermory Barrel Sauna Build Pt 2 - with a MAJOR WARNING!!! · Thermory Barrel Sauna Build Pt 3
Link to this answer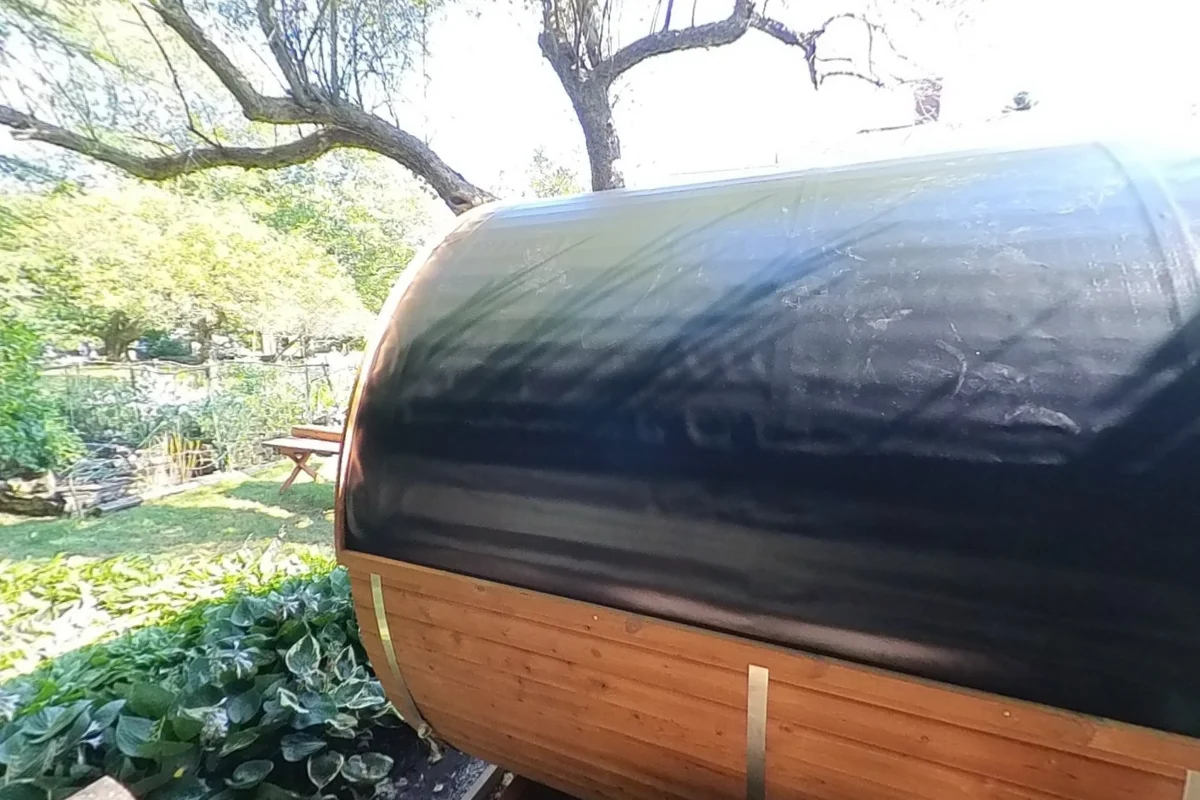 Open this view in 360° ↗
 Open this view in 360° ↗
Photos & references
- Auroom Libera Glass original 360 photographs ↗
- Auroom Libera Indoor Sauna Build Video ↗2025-11-24
- Thermory Barrel 60 Series original 360 photographs ↗
- Auroom Nativa Glass original 360 photographs ↗
- Sweating Details: The Auroom Nativa Indoor Sauna Kit Up Close ↗2024-04-21
- Auroom Mira L original 360 photographs ↗
- Auroom Mira L Sauna - Unboxing and Full Build ↗2026-01-15
- Thermory Barrel Sauna Build Pt. 1 ↗2024-09-16
- Thermory Barrel Sauna Build Pt 2 - with a MAJOR WARNING!!! ↗2024-09-16
- Thermory Barrel Sauna Build Pt 3 ↗2024-09-25
Keep exploring
All questions →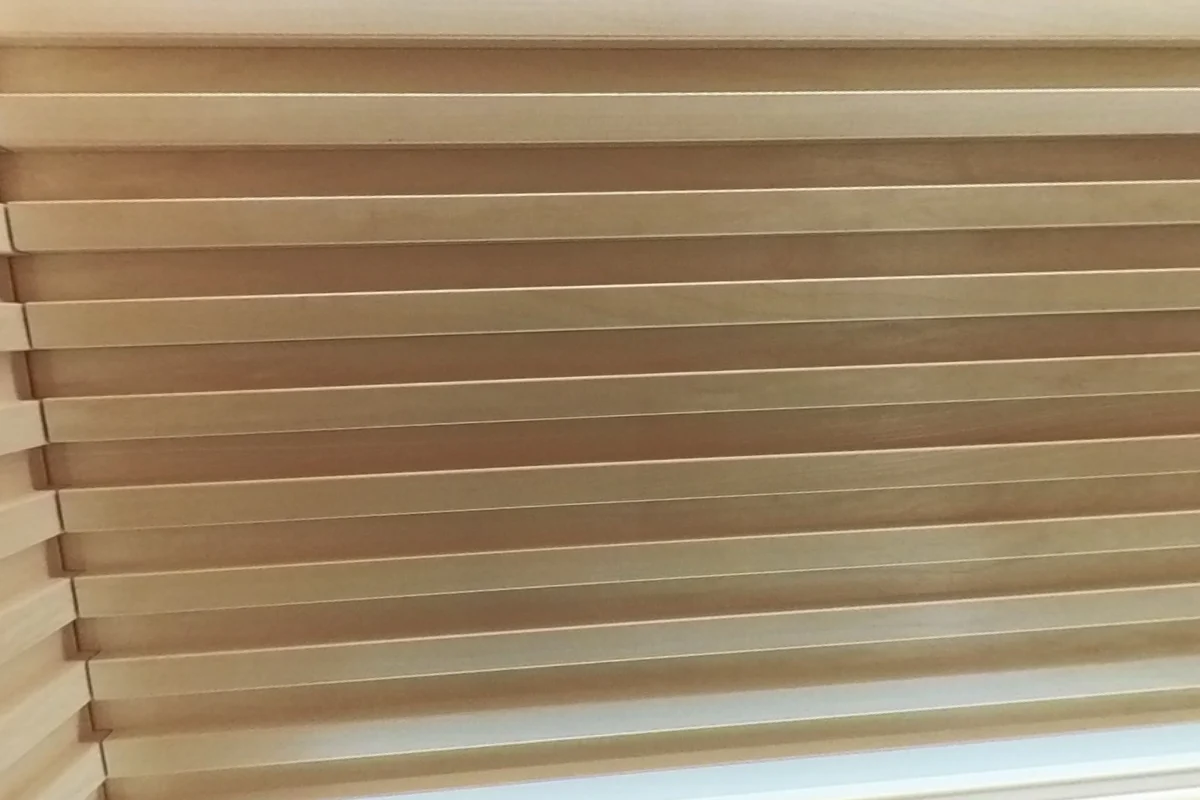
Building & details · 13 answers
Auroom Nativa: Interior Details and Assembly Questions
See the Auroom Nativa wall profile, narrow bench slats, hidden lighting, floor grids and assembly details in our photos and narrated walkthrough.
See the answers →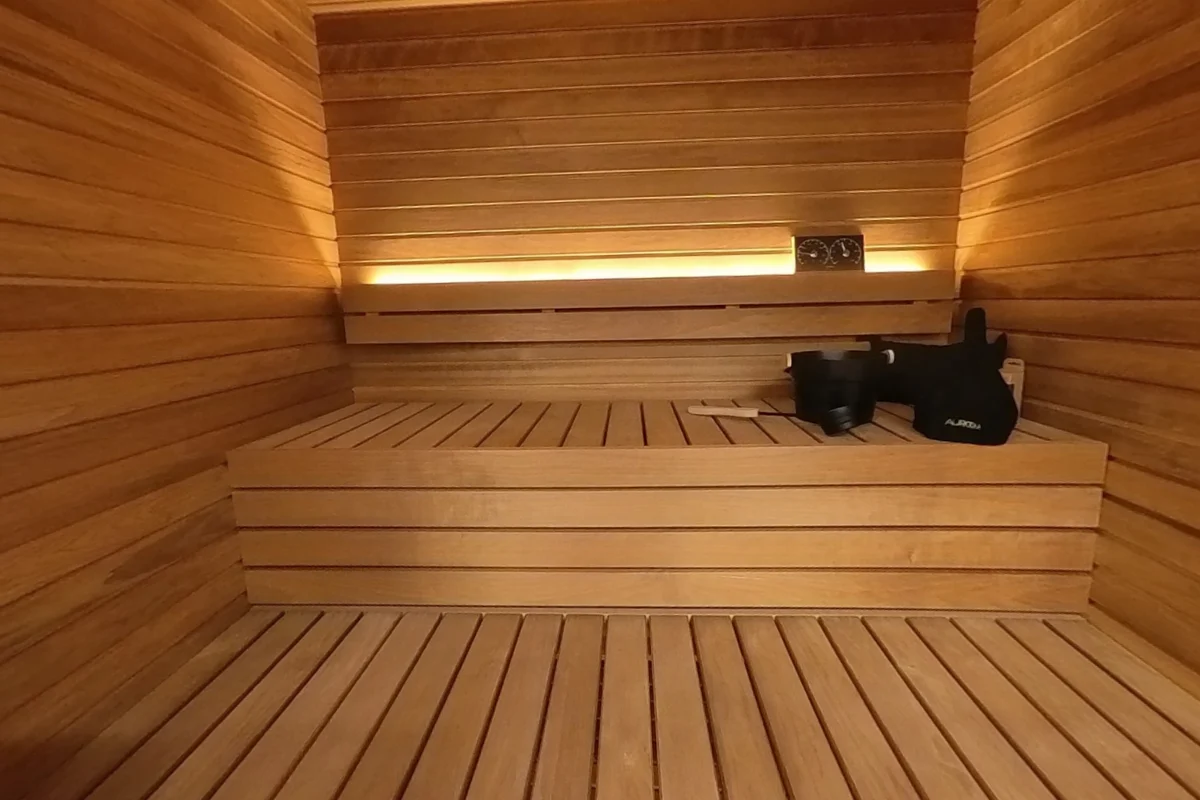
Building & details · 13 answers
Auroom Mira L: Inside the Sauna and Lessons from Our Build
Explore Mira L seating, glass-front views and lighting in our photos, with practical lessons from our separate CLT unboxing and assembly video.
See the answers →Benches & seating · 16 answers
Auroom Libera Glass: Benches, Sizes and Build Details
Explore Libera Glass bench depths, front glass, heater placement and build details through our showroom photos, factory plans and actual build video.
See the answers →